---
title: Cut out shapes out of plastic sheets with a CNC
slug: cut-out-shapes-out-of-plastic-sheets-with-a-cnc-
description: In this how to, I will show you our process to cut HDPE Sheets using a X-Carve CNC.
Here is the full video in spanish with subtitles https://www.youtube.com/watch?v=4LrrFz802To
tags: ["HDPE"]
category: uncategorized
difficulty: Medium
time: < 5 hours
keywords:
location: Mexico City, Mexico
---
# Cut out shapes out of plastic sheets with a CNC

In this how to, I will show you our process to cut HDPE Sheets using a X-Carve CNC.
Here is the full video in spanish with subtitles https://www.youtube.com/watch?v=4LrrFz802To
User Location: Mexico City, Mexico
## Steps
### Step 1: Measure the plastic sheet
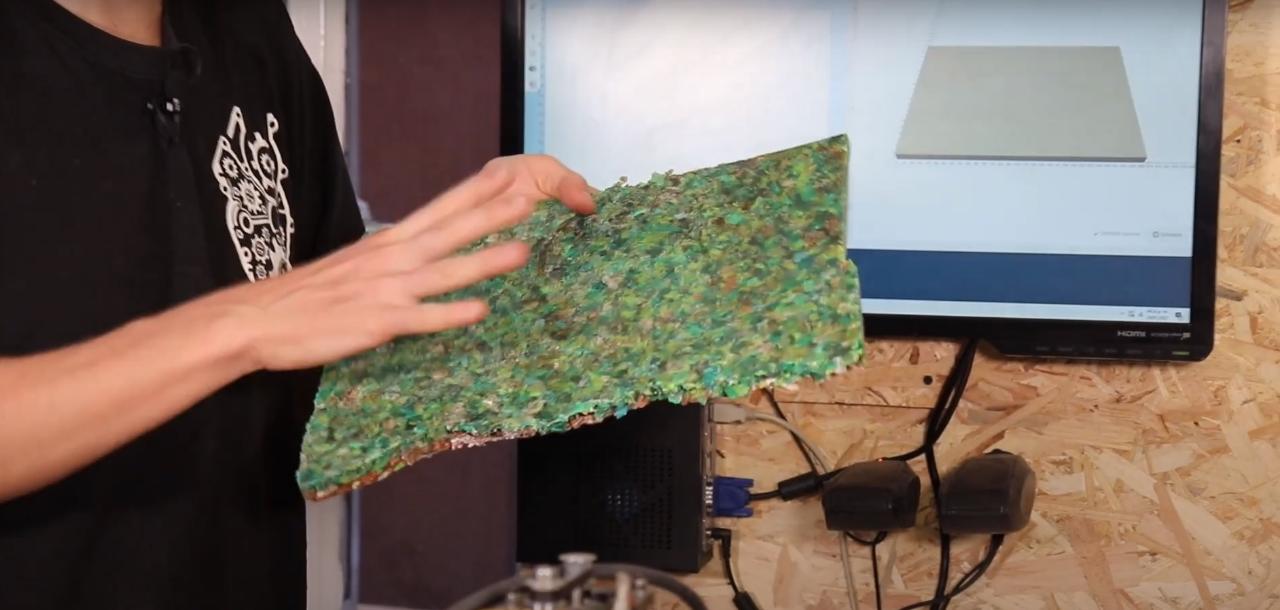
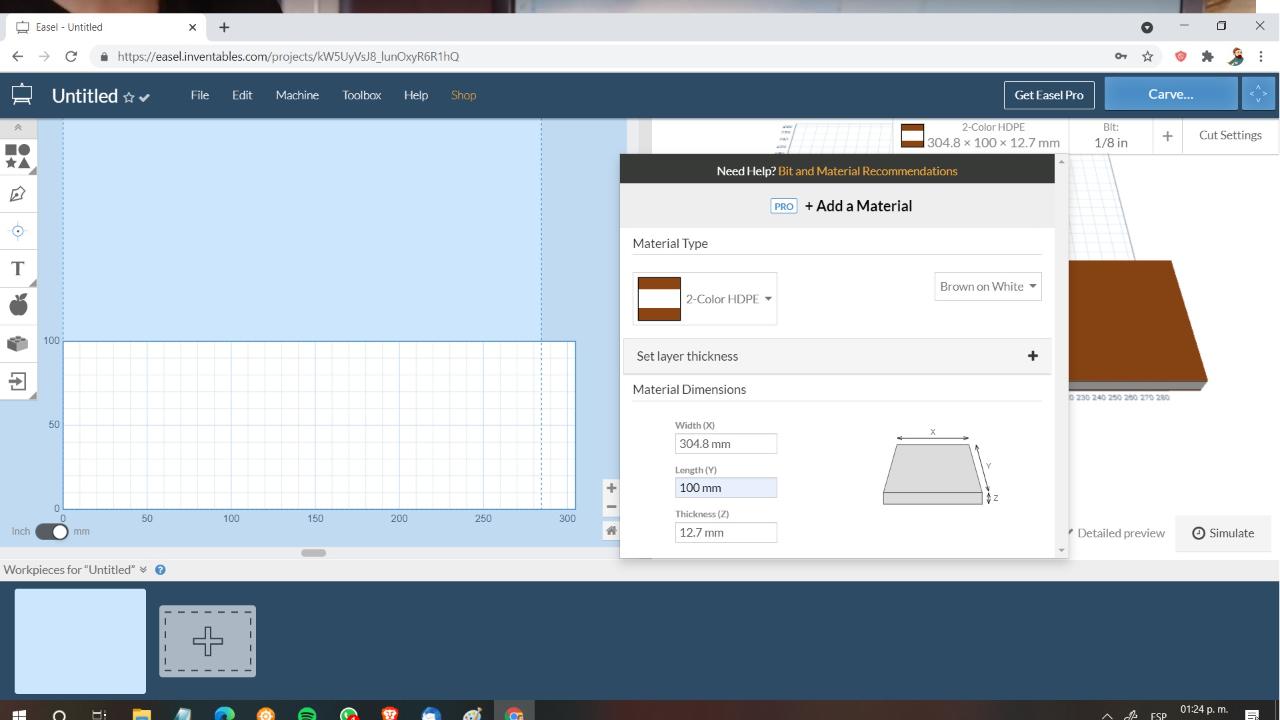
For this step we need to measure our plastic sheet: Height, Width and Thickness. Our X-Carve machine works with the CAM Software EASEL, for me, the easiest software for CNC milling out there.
The cool thing about Easel (easel.inventables.com: easel.inventables.com/) is that you can "simulate" your actual material and THEY EVEN HAVE HDPE 2-Colors in their cutting material lists!!
### Step 2: Secure sheet
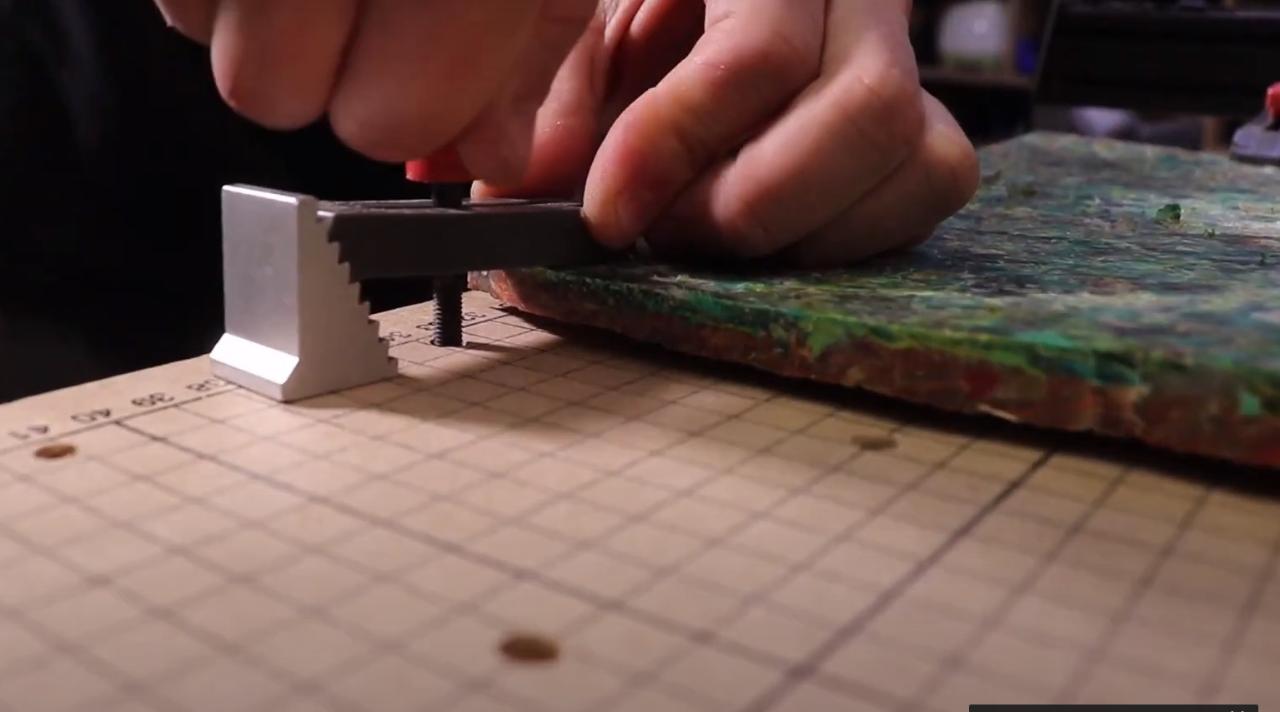
Using the CNC clamps from the X-Carve, secure the sheet to the table,
### Step 3: Choosing a file to cut
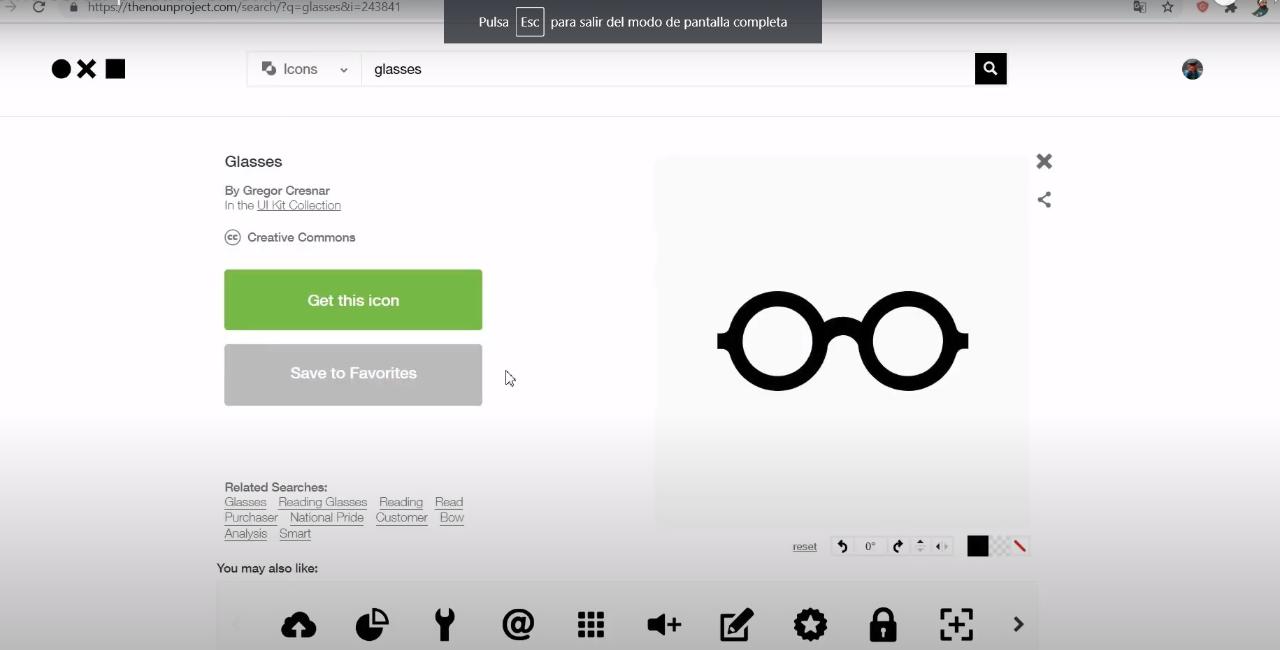
Now we go to our illustrator, such as Inkscape to design a vector file or download and open source one frome thenounproject.com: thenounproject.com
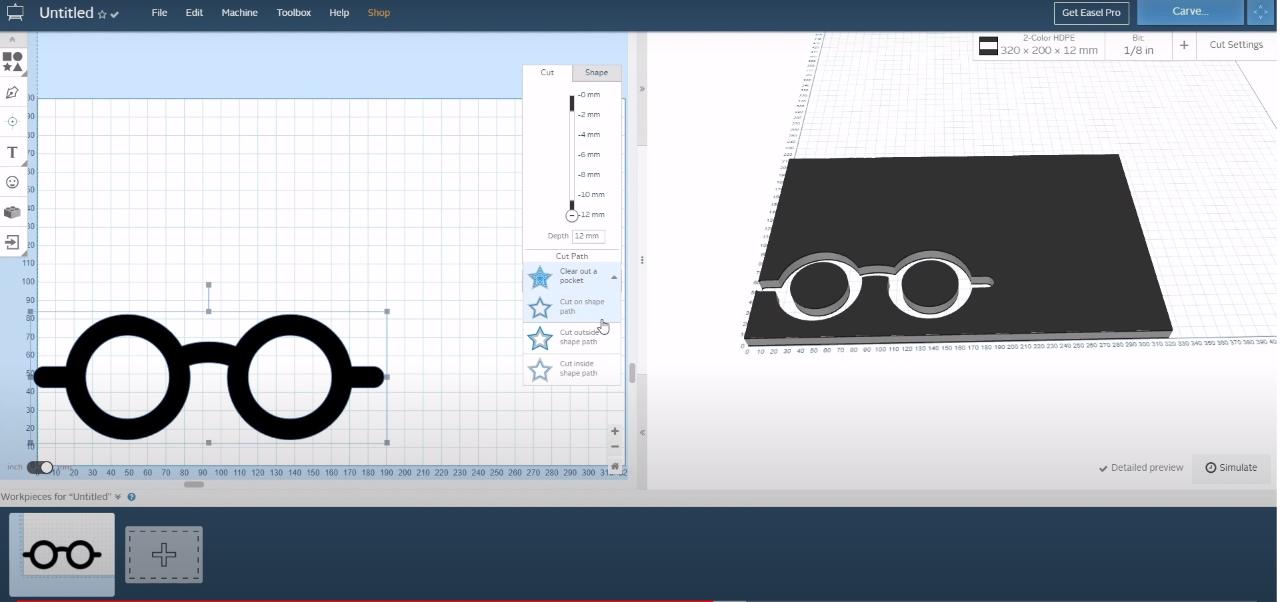
We download the SVG file, which is an open source vector format and import it to Easel.
### Step 4: Follow the cutting Wizzard
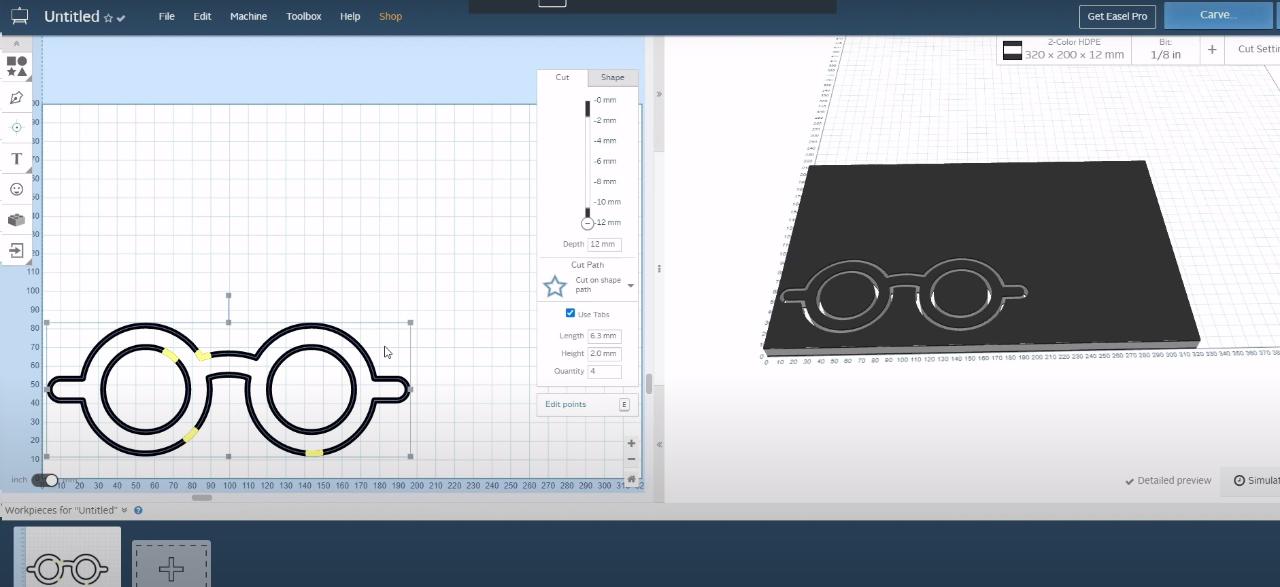
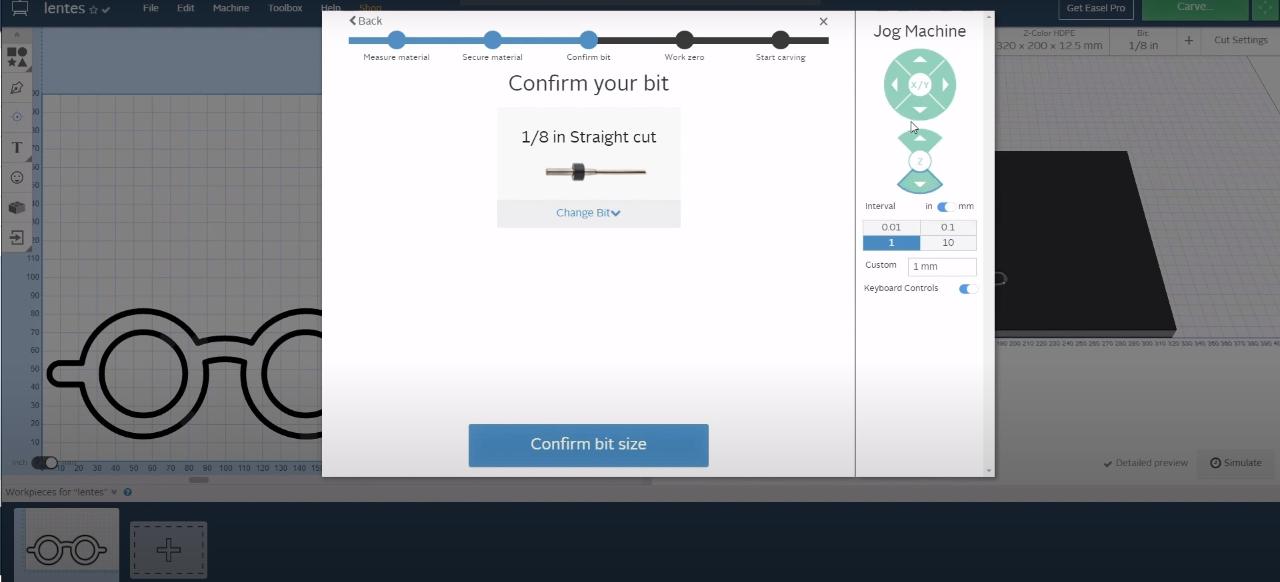
Now with the file we can choose the width we want to carve/cut and then we go to cut and start the wizzard:
- We check that the sheet is fixed.
- We also specify the cutting bit, we are using a 1/8 flat flute bit.
- We tell the machine where the coordinate 0-0 is, which we always choose as the down left corner.
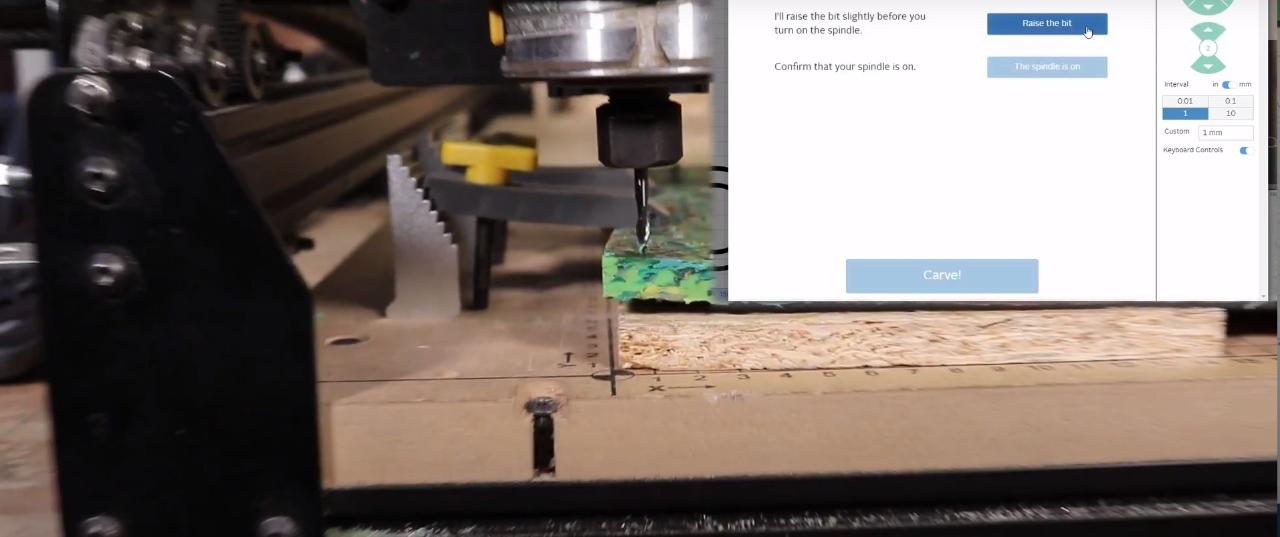
- We raise the bit, turn on the CNC Router!!!
AND PUM THE MAGIC BEGINS!!
### Step 5: Post-production and show case
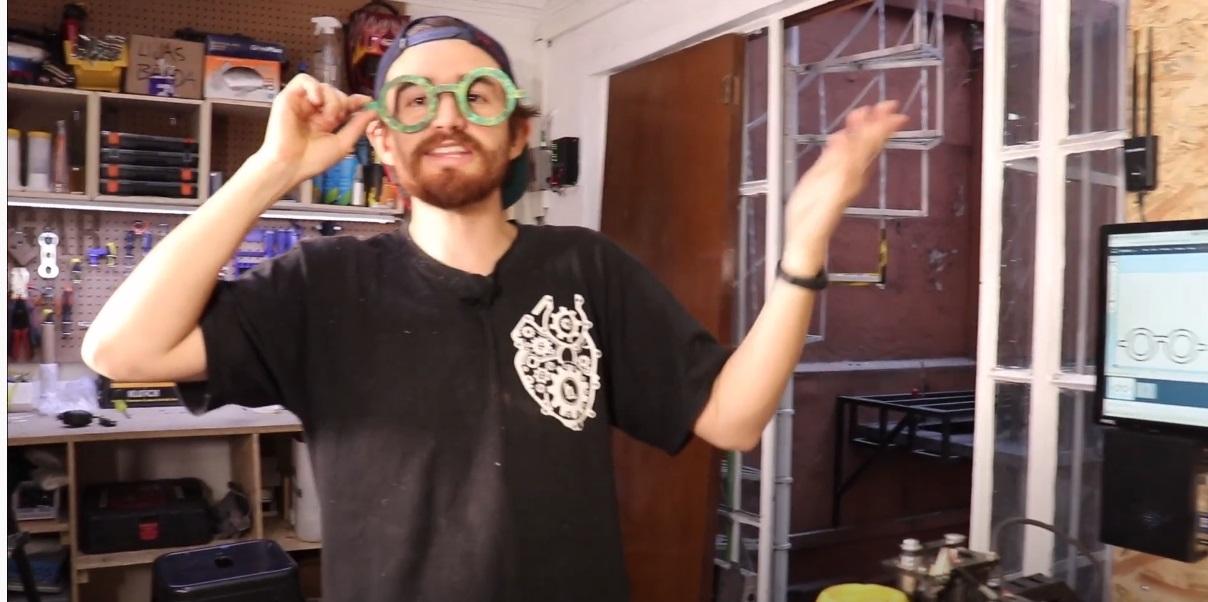
You take now your glasses or object and postprocess them and of course show it to your friends, family and so on.
### Step 6: Hack it and try it yourself
You can try this project with other types of CNC machines, even manual Routers or manual saw, as I did on this video: youtu.be: youtu.be/gxkcffQD3eQ, but the important thing is that you share what you do and help this community to grow!!!
Share your ideas and comments!

## Resources
## References